ASSEMBLING YOUR NEW BED
Step by Step…
Thank you for purchasing your new bed frame from us. Please follow these assembly instructions carefully to avoid damaging the construction of the frame and please contact us if you require any further help or clarifications.
Our bed kits comes with the necessary spanner and fittings. However, you will require a standard cross-head (Phillips) screw driver to secure the slats. We strongly recommend using a powered screwdriver where possible for this task.
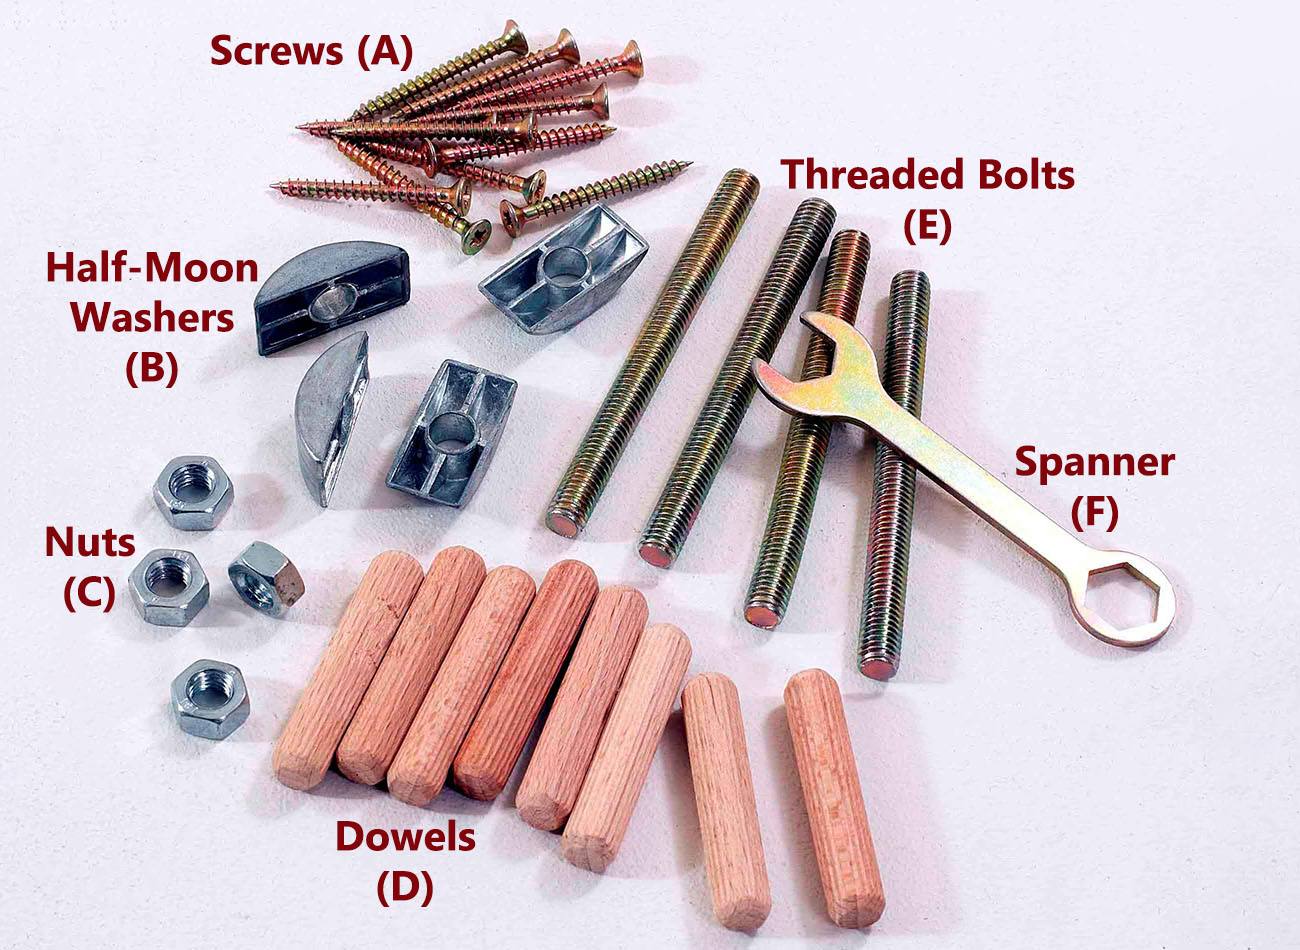
Each standard bed frame we supply will have one bed kit included. A four poster bed will be supplied with three kits. Each bed kit will contain the following components, please identify these before you begin assembly.

In each of the four bed posts, insert one of the supplied dowels (D) into both the top and bottom pre-drilled holes and screw one of the threaded bolts (E) into each of the middle holes (see image 1 below).
Line up the three holes on each end of the two long sidebeams (see image 2 below) and use the supplied half-moon washers (B) and nuts (C) to safely connect everything together (see image 3 below).
SLATS
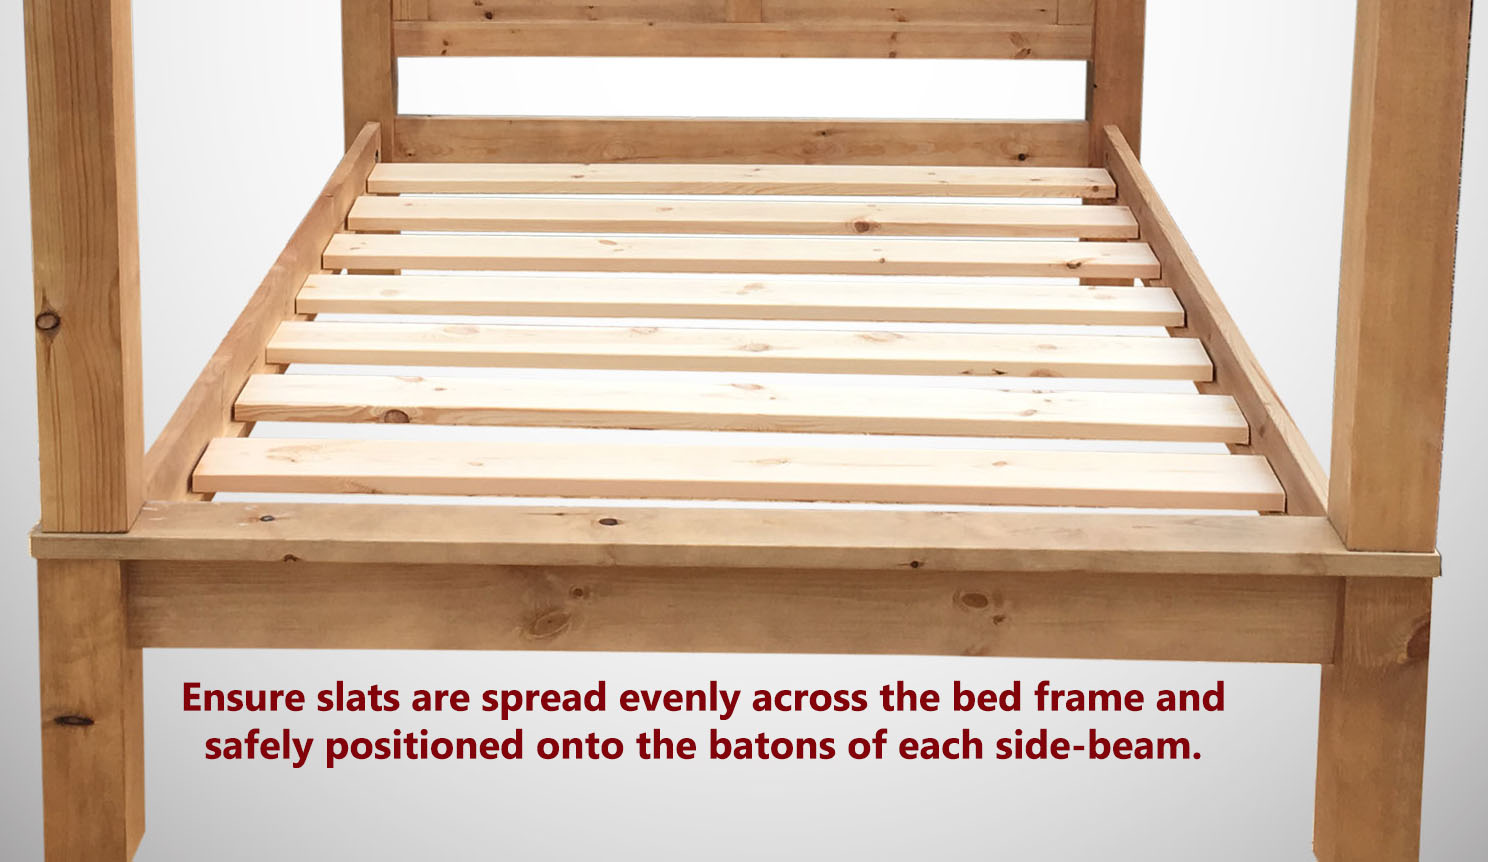
Once the main frame is assembled, spread the slats out evenly between the two side beams so they are safely resting in place.
For larger width beds your frame may have been supplied with one or more centre rails and central support leg. These must be postitioned and secured before the slats are put in place (the slats will rest upon them).
The slats will have been pre-drilled on each end and can be secured to the frame using the supplied cross-head screws (A) with a cross-head screwdriver.
IMPORTANT
Put pressure against the sidebeam (for example by using your leg and body weight), pushing it towards the centre of the bed as you screw the slats down into it.

– Four Poster Bed Assembly –

Assembling one of our four poster beds is done in basically the same way but with a few extra steps.
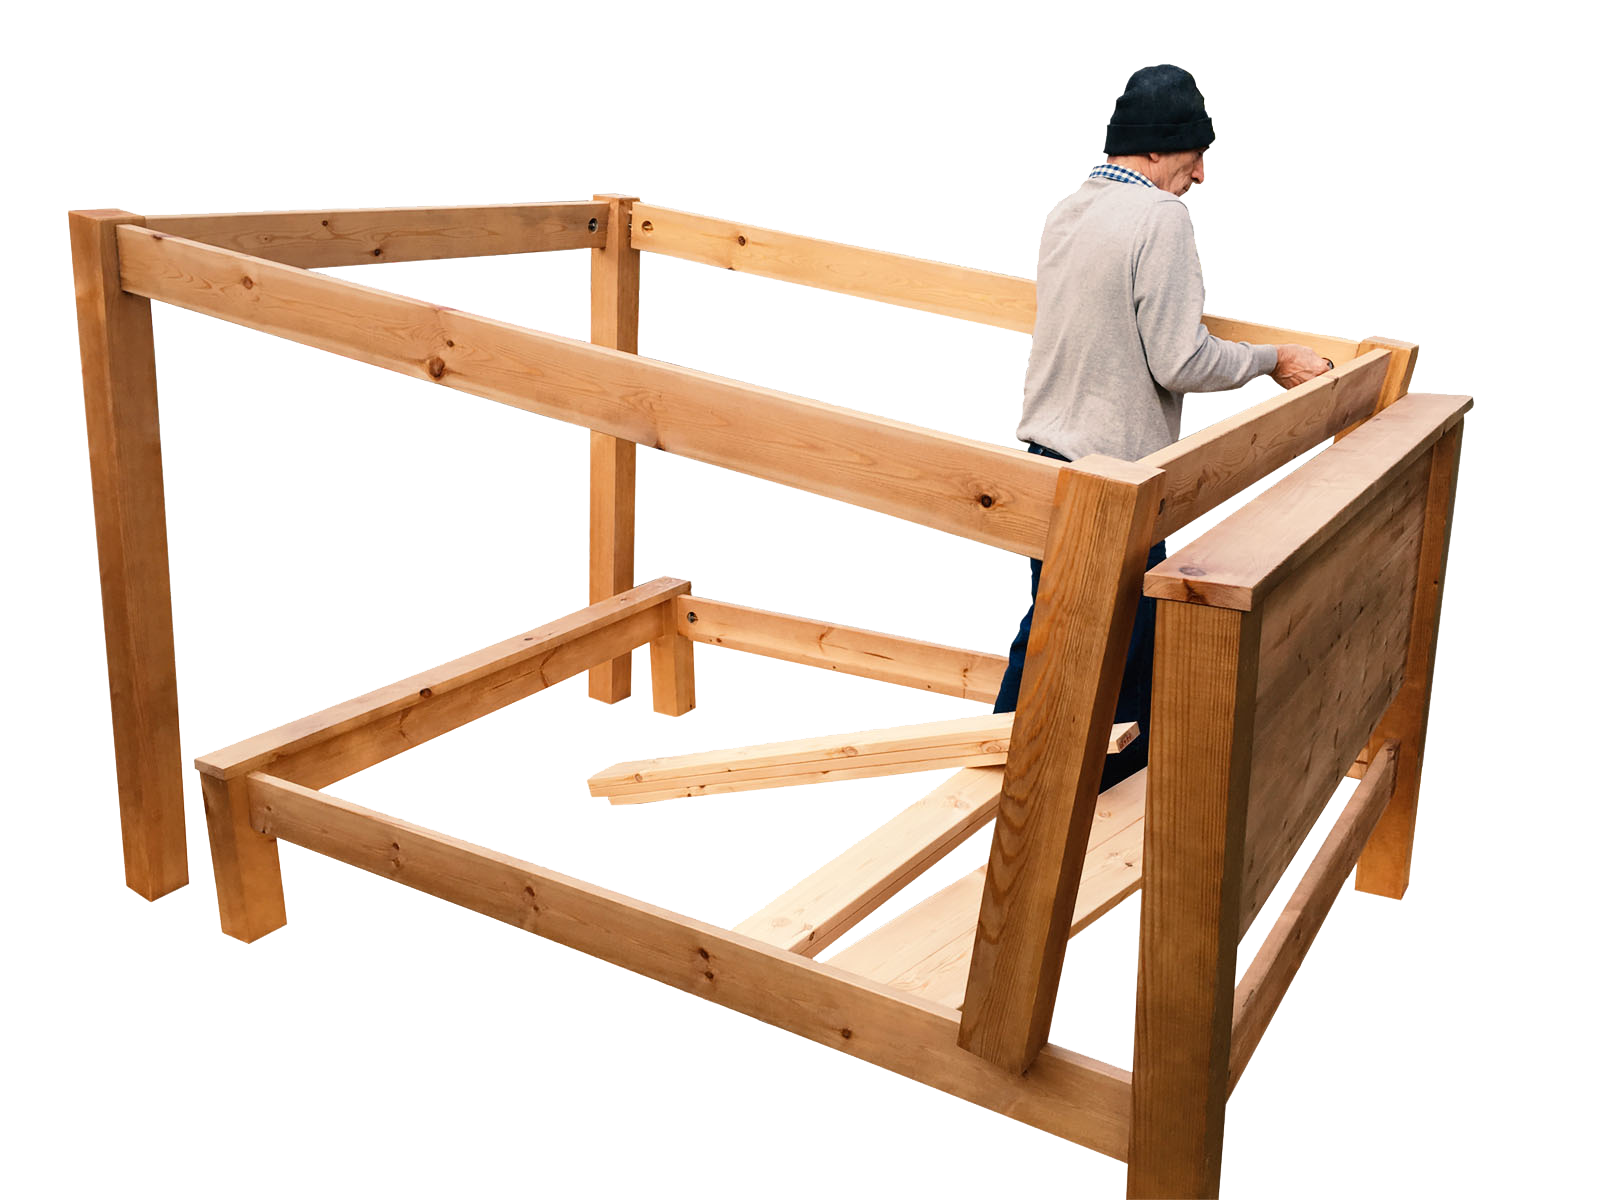
1. Assemble the bottom half of the frame using the same instructions as given above.
2. Assembling the top half, ie. , the ‘four poster’ half works in a very similar way. You are just repeating the process!
3. In two sides of each of the posts you will find three drilled holes. Connect the sidebeams using the same fittings and guidance as illustrated above.
4. The two taller posts should be connected together by one of the smaller side beams.
5. The two shorter posts should be connected together by the other smaller side beam.
6. The four posts can then be connected together using the two longer sidebeams.
7. We recommend two people lift this top part of the frame onto the bottom half and make sure each post is secured into the wooden dowels.
If you require any assistance in understanding the assembly process then please don’t hestitate to contact us, our team will always be happy to help.